To create a product video with AI, start with a clear product photo, decide what the viewer needs to notice, and generate one controlled movement at a time. Build the final sequence from accepted shots, then add sound, text, and a clear next step. PixTV brings image, video, audio, and editing entry points into one canvas so the reference assets and shot variations can stay together.
Why a Product Photo Needs a Motion Plan
A photograph establishes what the product looks like. Motion decides what the viewer notices next. A slow approach can reveal the texture of a bottle; a short lateral move can separate its silhouette from the background. Neither requires the bottle to bend, open, or transform.
Choose the motion for a reason. If the product’s value depends on a hinge, a fabric stretch, or a precise mechanical action, an invented movement can misrepresent it. Use real footage for that demonstration when generation cannot preserve the actual behavior. A polished clip still needs to show the correct product.
What You Need Before You Start
Prepare a sharp product image, an intended aspect ratio, one short message, and any brand assets you are permitted to use. Keep the full silhouette visible. Extra side or detail photographs help when the shot exposes a surface missing from the original view; one photograph does not establish an unseen back.
How the Workflow Fits Together in PixTV
Use image generation to prepare a clean starting frame. Keep the approved product, background, and lighting direction together on the canvas. Recheck any generated image against the source photograph before it becomes a video reference. An attractive still with the wrong lid or label creates the wrong foundation.
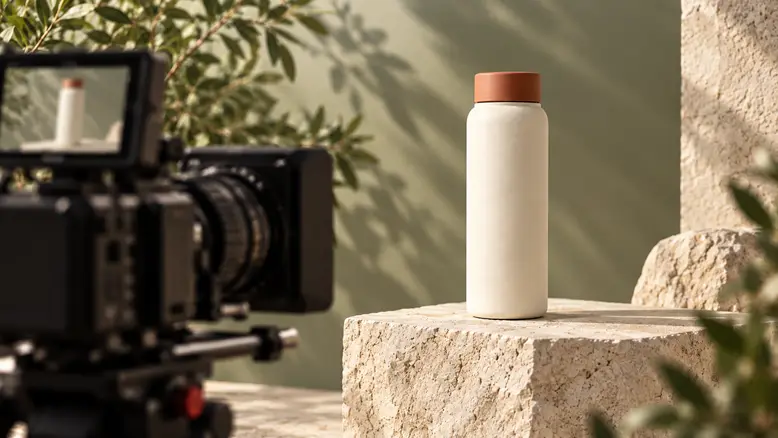
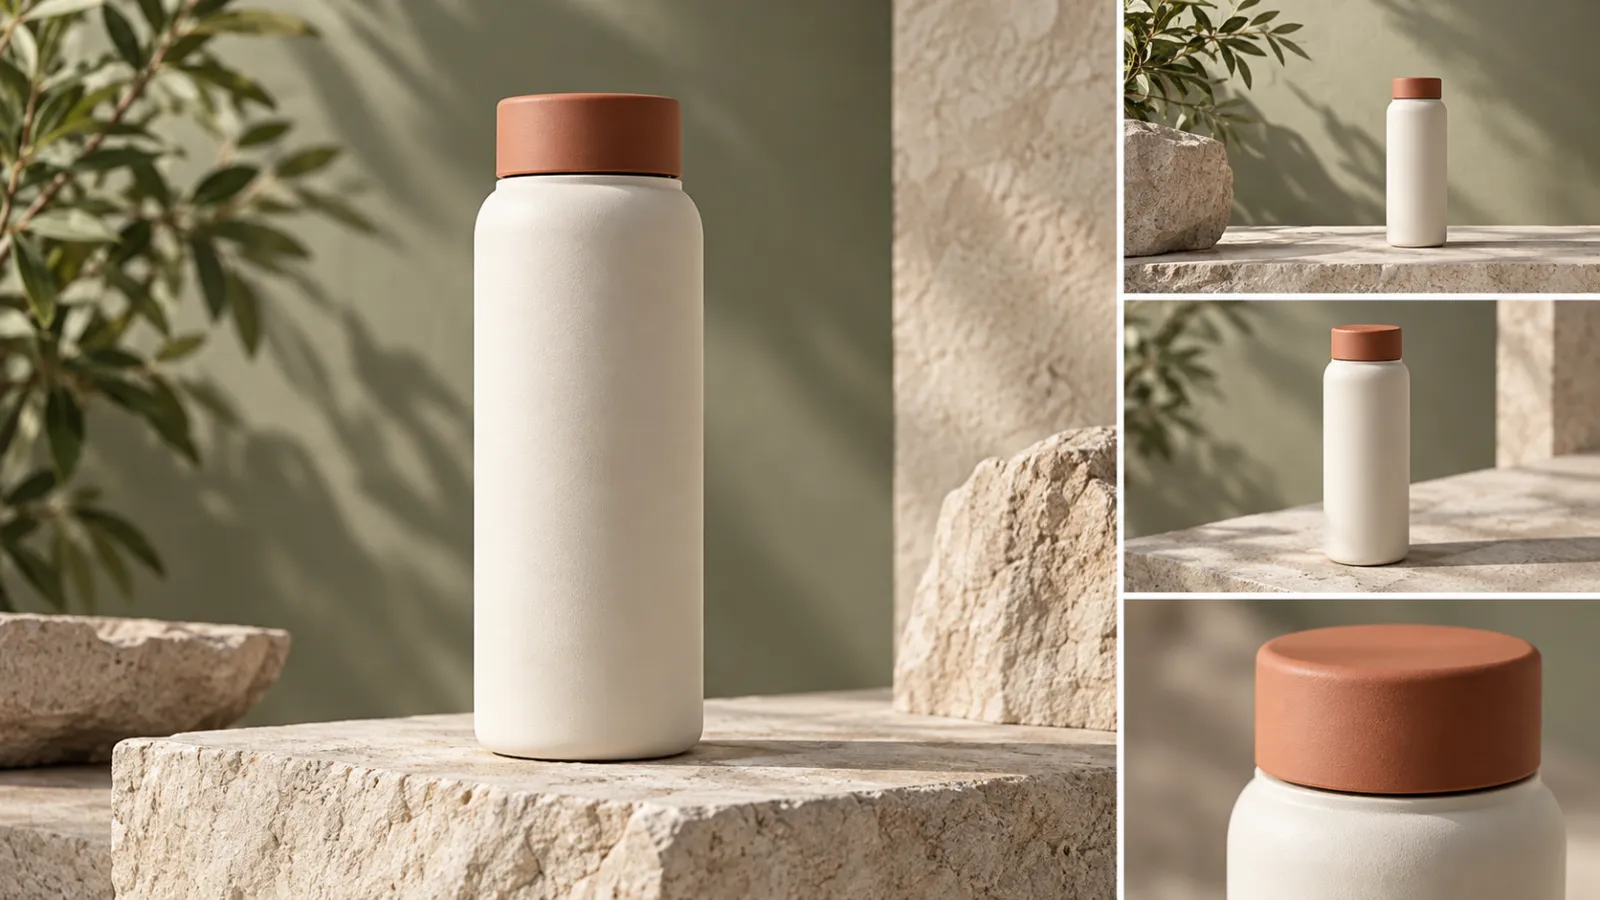
Move the accepted frame into video generation using a model that supports the intended input. Check its available duration and output options before producing all shots. Our example is an unbranded cream bottle with a terracotta cap; the objective is a readable product reveal, not proof of insulation or durability.
Two Ways to Build the Sequence
Route A: Animate the Approved Product Photo
Keep the original viewpoint and ask for a modest camera move. This route suits a first video because the model needs to invent less hidden geometry. Start with a static product, a short push-in, and a stable background. Review the full movement before planning another angle.
For the bottle concept, begin with this illustrative prompt. Attach the approved image where the selected model supports it:
One continuous medium product shot. The cream bottle with the terracotta cap stays upright and still on the stone plinth. The camera slowly approaches along a straight path, ending slightly closer. Preserve the bottle proportions, cap shape, surface texture, and lighting direction. No rotation, liquid, hands, new lettering, or added objects. Hold the final composition briefly.Check the rim, base, and edge of the cap through the whole clip. A small shape change can disappear at normal playback speed but become obvious on a paused frame. If the bottle swells during the move, reduce the approach or improve the starting image rather than adding more descriptive adjectives.
Route B: Prepare Separate Frames for Separate Views
When you have approved photographs from several angles, plan each view as a separate shot. Keep the same background, scale, and lighting relationship across the set. Generate the wide view, medium view, and detail as individual clips so one weak result can be replaced without rebuilding everything.
Shot | Purpose | Continuity check |
|---|---|---|
Wide | Establish the bottle and setting | Full silhouette and cap are correct |
Medium | Bring attention to the surface | Material and proportions remain stable |
Detail | Show the cap and rim | Edges match the real product |
The storyboard is an editing plan, not an obligation to use three generated angles. If only the front photograph is reliable, build variation with the crop, timing, and a restrained camera move. A sequence with two accurate views is more useful than three contradictory ones.
Add the Message After the Product Reads Clearly
Write a hook around an observable feature: the finish, compact shape, or a detail visible in the photograph. Do not invent a performance test. Add factual product text during the edit so spelling, price, and placement can be checked independently of the generated footage.
Use video editing to select the accepted takes and trim the sequence. Check the product without music first, then add a quiet sound bed or an appropriately licensed track. Leave room for the call to action without covering the feature the video is meant to show.
Choose the Format Around the Task
Task | Best starting plan |
|---|---|
Simple product reveal | One photo, one restrained camera move |
Several accurate angles | Separate approved frames and short clips |
Specific physical demonstration | Real demonstration footage where needed |
Budget for Usable Shots
Three accepted shots at an assumed average of three attempts require nine video generations. This is a planning assumption, not a measured pass rate. Multiply the attempts for each shot by the displayed price for its selected model and settings, then add image preparation, sound, repairs, and editing time.
Test the difficult view first. If a close-up repeatedly changes the cap, solve that problem before making several backgrounds or ad versions. Record rejected attempts as well as accepted clips; the cost per usable shot is the number that helps the next production decision.
Before You Export
Check the silhouette, color, label, reflections, and contact with the surface. Watch for unintended rotation or changing material. Confirm that text is factual and legible, the aspect ratio fits the destination, and the ending asks the viewer to take one clear action.
Create your first product video in PixTV
Questions About This Workflow
Can one product photo become a video?
Yes, it can serve as the starting image for a supported image-to-video model. Keep the first move simple and review the result. A single photograph does not verify the geometry of surfaces that are not visible.
Do I need several product angles?
Several approved views help when the camera needs to reveal another side. If you only have one reliable image, keep the movement close to that view and create variation through framing, timing, and editing.
How do I keep the label unchanged?
Start with a sharp, unobstructed reference and inspect lettering throughout the clip. When exact text matters, consider adding a separate verified overlay in the edit. Do not publish a generated label that misstates the real product.
Should the product move or the camera?
Choose the movement that communicates the feature with the fewest uncertain changes. A stationary product with a modest camera move is a useful first test. Specific mechanical behavior may require real demonstration footage.
What does a finished product video cost?
Cost depends on the model, settings, accepted shot count, rejected attempts, sound, and finishing. Use current displayed prices and your own test results rather than assuming that every generation becomes usable footage.
Can I make several versions from the same assets?
Reuse the approved references and change one decision, such as the hook or crop, at a time. Check the product again in each version. Reusing assets reduces setup work but does not remove quality control.