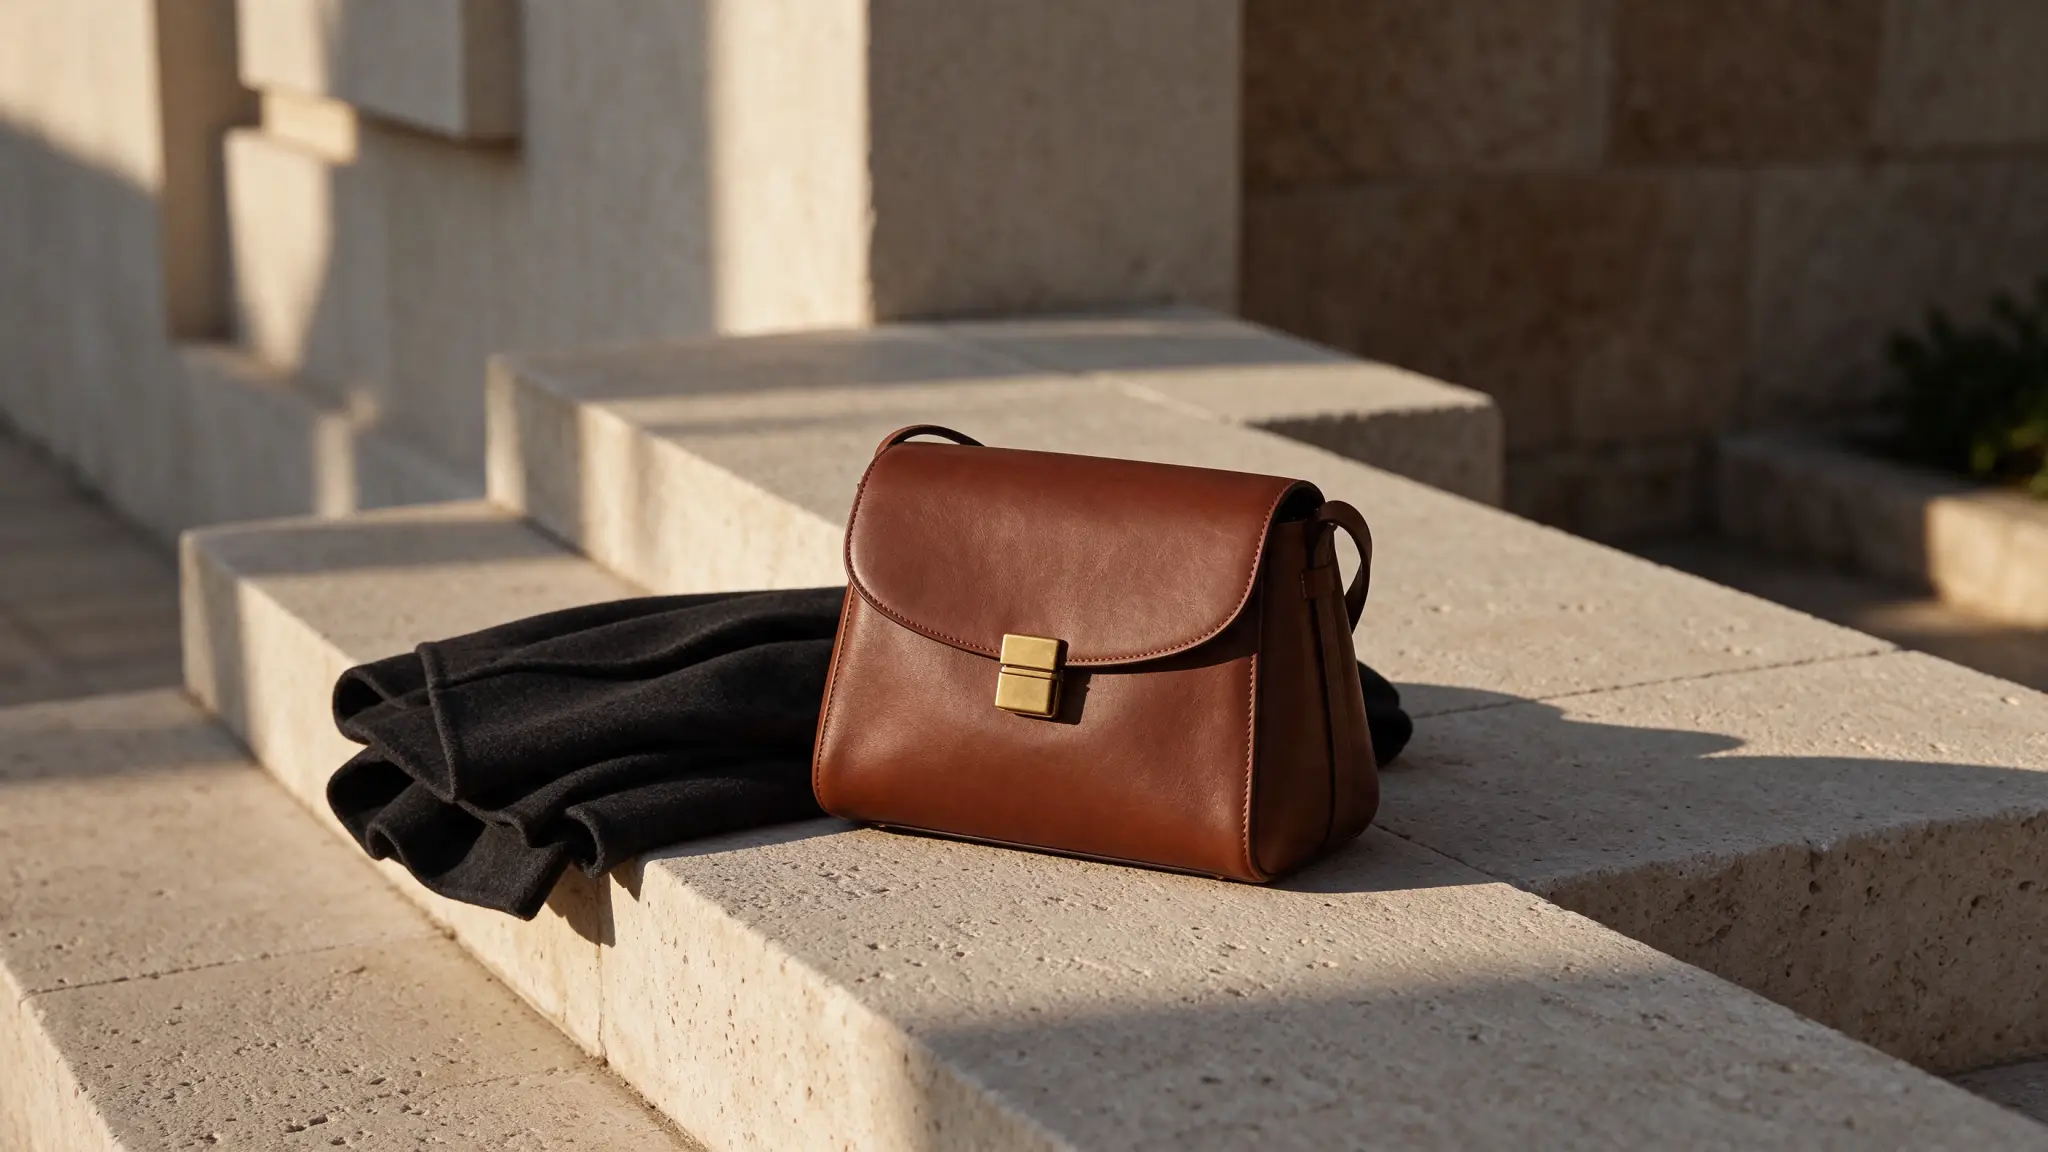
Anyone who has used AI image generators for client work knows "fourth-turn decay." Turn 1 looks crisp. Turn 2 swaps the jacket cleanly. By Turn 4 or Turn 5, the model's face looks slightly waxier, background shadows turn muddy, and stitching on the product starts drifting out of place.
ByteDance engineered Seedream 5.5 specifically to hold non-edited pixels steady across dozens—and in controlled pipelines, up to 100—sequential editing rounds. Still, pixel-locking only works when your prompts respect how the model separates locked anchors from editable zones. Below is an exact 12-turn commercial revision log run inside the PixTV image canvas, showing how to take one fashion shot through a full round of art-director notes for 38 total credits.
Why Sequential Edits Drift (And What Breaks the Lock)
Even in a drift-resistant model like Seedream 5.5, how you phrase a revision determines whether untouched areas stay frozen or get re-rendered from scratch:
Edit Instruction Type | Effect on Unedited Regions | Safe Way to Prompt It |
|---|---|---|
Swapping background material or weather | High stability — subject silhouette & skin stay locked | Explicitly name the locked anchor first ("Keep the model and leather bag unchanged...") |
Changing wardrobe color or fabric | High stability — facial features & pose remain intact | Target one garment per turn rather than restyling head-to-toe at once |
Adding poster headline or corner badge | Very high stability — underlying photo stays sharp | Specify an existing negative-space zone rather than overlapping complex textures |
Changing camera lens / angle mid-chain | Breaks pixel lock — forces full 3D geometry recalculation | Establish camera angle in Turn 1–2 before fine-tuning props, labels, or copy |
Global lighting flip (noon sun → neon night) | Partial relight — necessarily alters surface reflections | Do major time-of-day shifts early (Turn 2–3), then lock details afterward |
A Real 12-Turn Revision Log on PixTV (38 Credits Total)
Because Seedream 5.5 on PixTV costs 3 credits at 1K and 5 credits at 1.5K or 2K (with 2K as the maximum resolution), the most economical studio habit is running every intermediate revision at 1K and saving 2K for the final master export.
Here is the exact turn-by-turn sequence for a saddle-brown leather crossbody bag campaign:
Phase A: Base Framing & Environment (1K · 3 credits/turn)
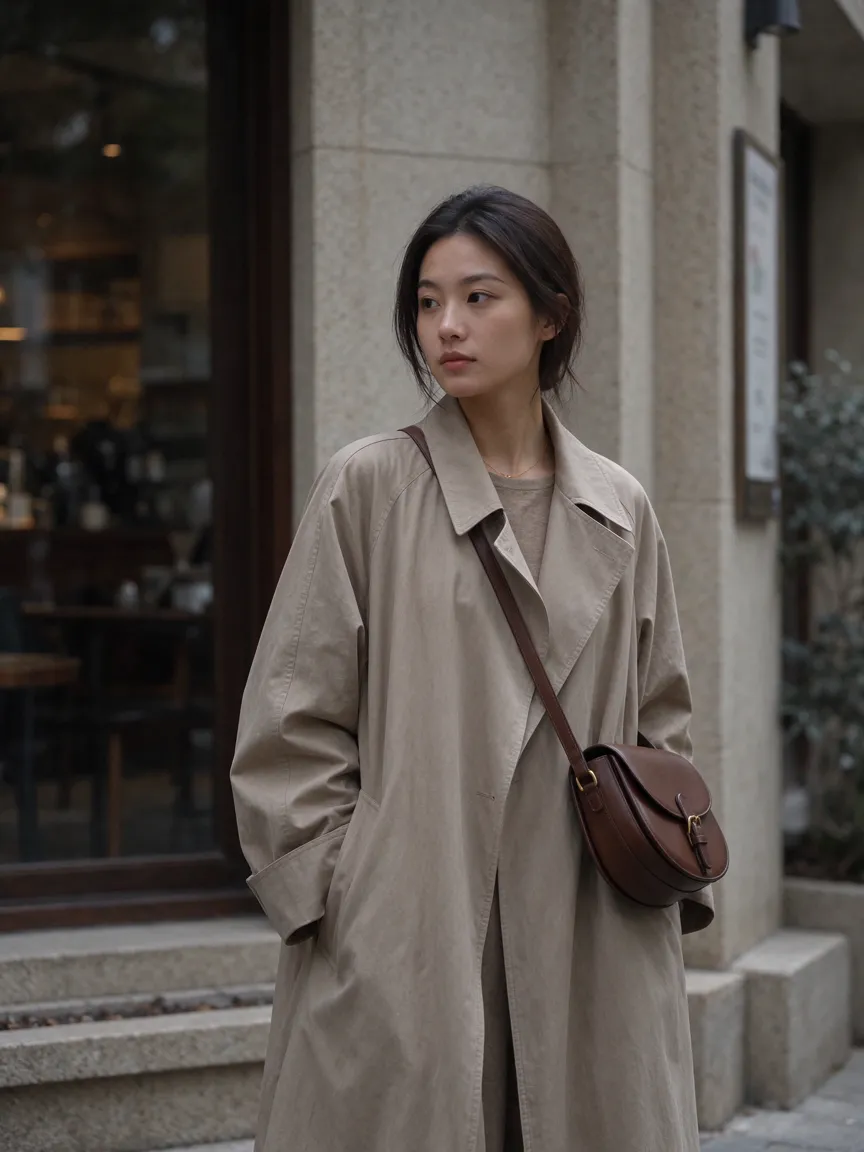
Turn 1 — Base Generation (3 credits):
Editorial street-style medium shot of an East Asian woman in her late 20s wearing an oversized oatmeal trench coat, carrying a structured saddle-brown smooth leather crossbody bag with a brushed brass rectangular clasp. Standing outside a limestone café facade, overcast soft daylight, clean headroom at top for magazine copy, natural skin texture.
Turn 2 — Bag Strap Length Fix (3 credits):
Keep the woman's face, trench coat, bag body, and café background identical. Shorten the leather crossbody strap slightly so the saddle-brown bag rests higher at her waist.
Turn 3 — Background Distraction Cleanup (3 credits):
Keep the woman and saddle-brown leather bag completely unchanged. Remove the parked bicycle behind her left shoulder and continue the clean limestone wall texture.
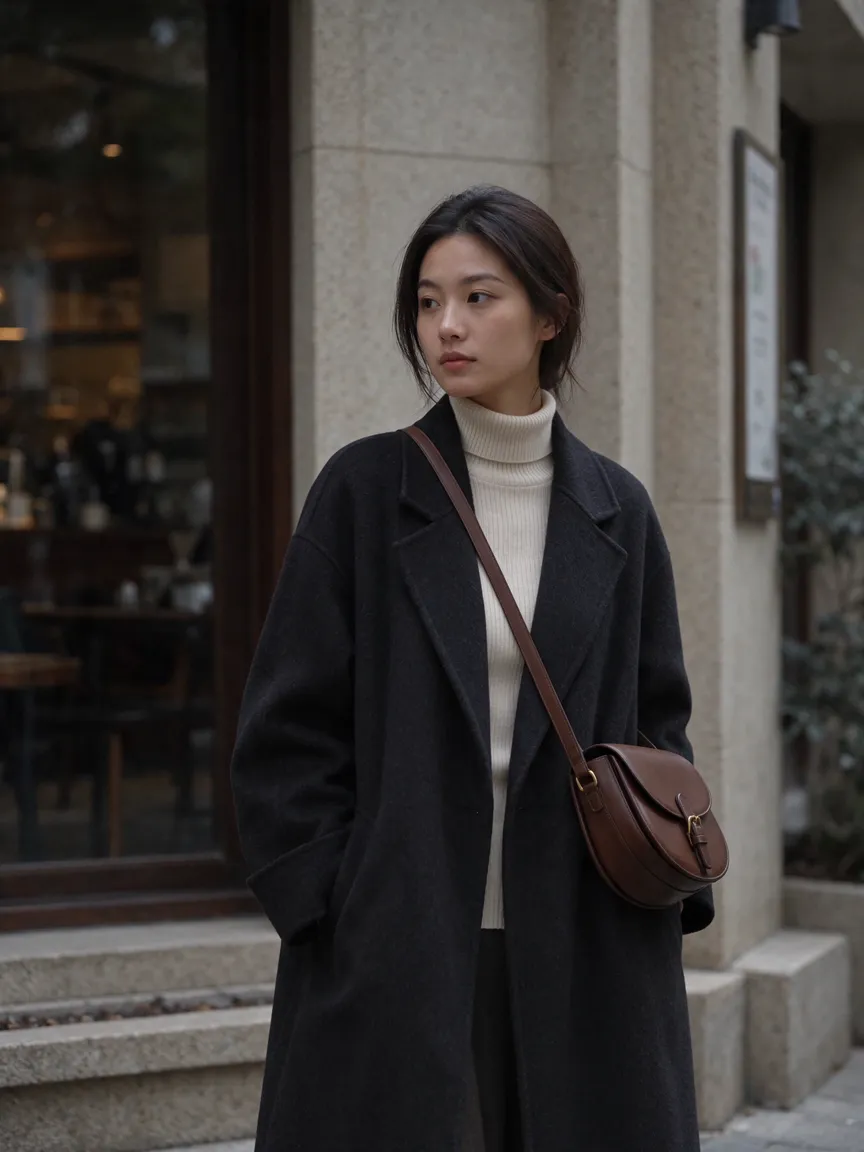
Turn 4 — Wardrobe Contrast Tweak (3 credits):
Keep her face, hair, leather crossbody bag, and limestone background unchanged. Change the oatmeal trench coat to a deep charcoal wool coat so the saddle-brown bag stands out clearly.
Phase B: Lighting, Props & Fine Details (1K · 3 credits/turn)
Turn 5 — Inner Top Adjustment (3 credits):
Keep her face, charcoal coat, leather bag, and background identical. Change her inner collar from plain white to a fine cream ribbed turtleneck.
Turn 6 — Directional Golden-Hour Rim Light (3 credits):
Preserve her facial identity, clothing, and bag geometry. Add warm late-afternoon sunlight grazing from the right side, casting a soft shadow across the limestone wall.
Turn 7 — Hand Accessory Addition (3 credits):
Keep everything identical except add a thin minimalist gold cuff bracelet on her right wrist resting near the bag strap.
Turn 8 — Brass Clasp Specular Cleanup (3 credits):
Keep the entire image unchanged except tone down the bright glare on the rectangular brass bag clasp so the brushed metal grain is clearly visible.
Phase C: Campaign Typography & Master Export
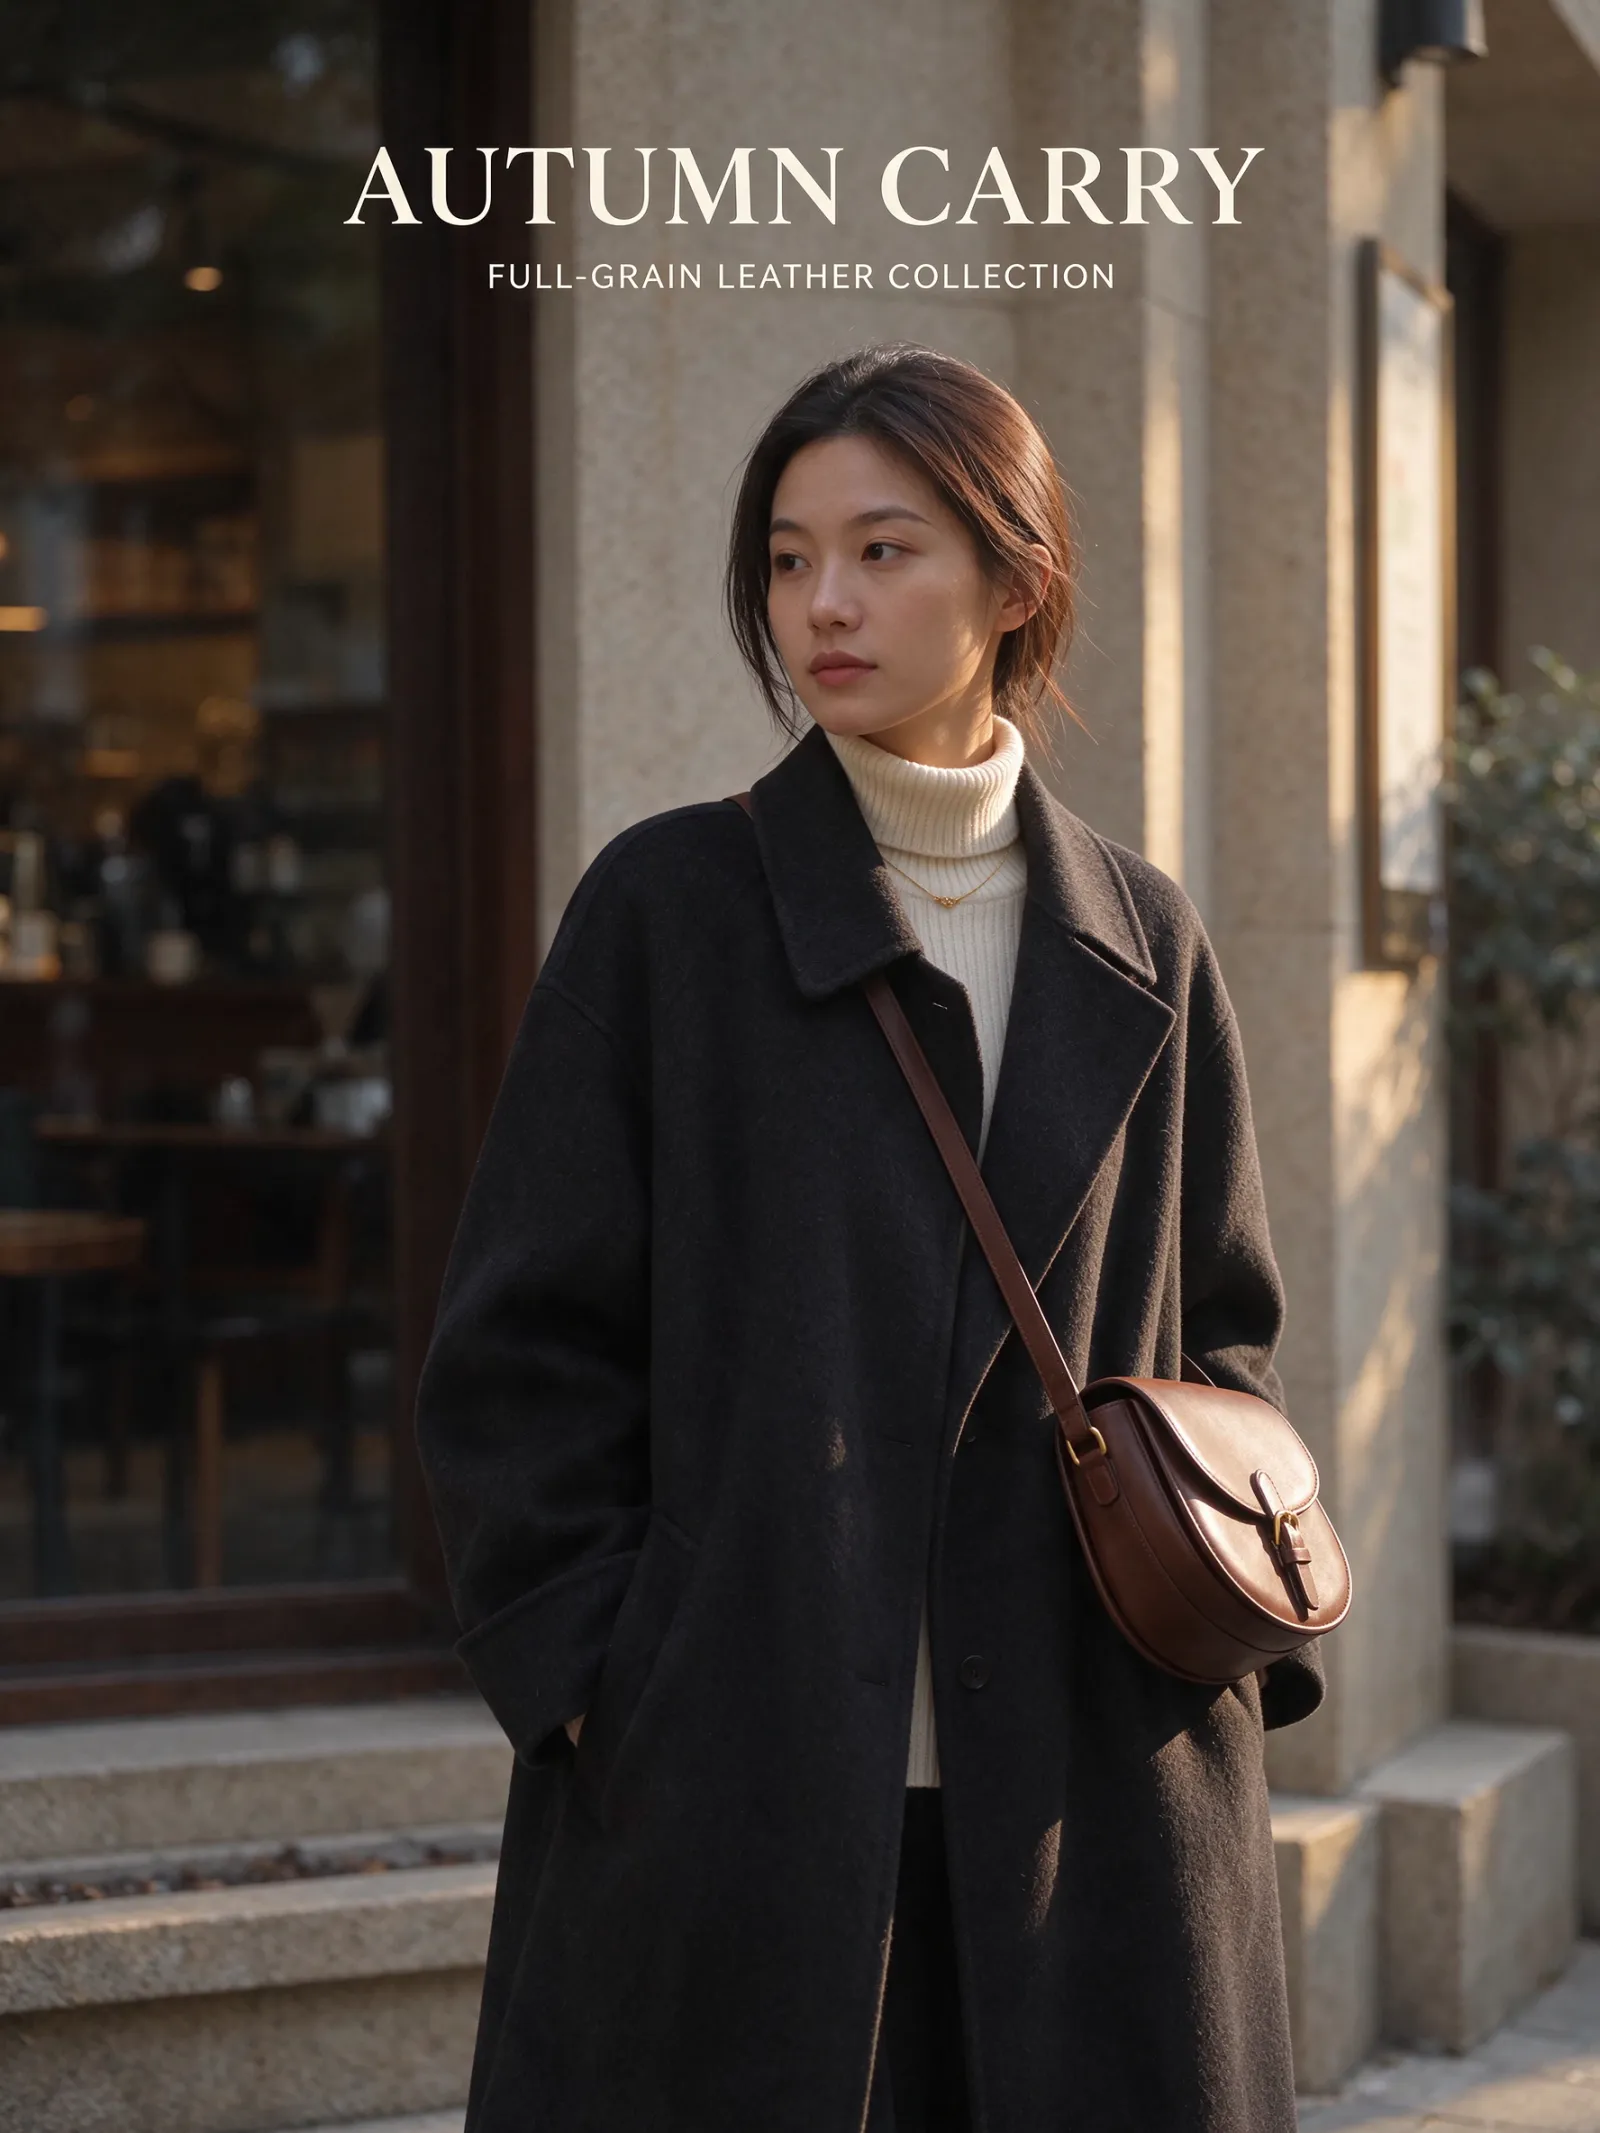
Turn 9 — Primary Headline Placement (
1K, 3 credits):
Keep the subject, bag, and lighting untouched. In the upper limestone headroom, add clean centered ivory serif headline text reading "AUTUMN CARRY".
Turn 10 — Subcopy Addition (
1K, 3 credits):
Keep the entire photo and "AUTUMN CARRY" headline identical. Directly beneath the headline, add smaller tracked-out sans-serif text reading "FULL-GRAIN LEATHER COLLECTION".
Turn 11 — Kerning & Size Polish (
1K, 3 credits):
Keep the photo untouched. Reduce the size of the subtext "FULL-GRAIN LEATHER COLLECTION" by 20 percent for cleaner breathing room.
Turn 12 — Final
2KMaster Output (2K, 5 credits):
Re-run/export the locked composition at 2K resolution (5 credits)—skipping 1.5K since both 1.5K and 2K cost 5 credits on PixTV.
Total campaign spend: 11 turns × 3 credits (1K) + 1 final export × 5 credits (2K) = 38 credits for an art-directed poster ready for ad spend or AI fashion video animation.
3 Rules for Writing Zero-Drift Delta Prompts
Lead every turn with your "freeze list." Starting with "Keep the woman's face, charcoal coat, and leather bag identical..." gives the model explicit permission not to “improve” areas the client already signed off on.
Branch on the canvas instead of overwriting. On PixTV's infinite canvas, if Turn 6 looks great but you want to test two different coat colors, branch two parallel nodes off Turn 6 rather than piling failed coat experiments onto Turn 7, 8, and 9. If one branch goes sideways, step back to the clean Turn 6 node instantly.
Know when to switch to mask inpainting or
4K. If you only want to erase a tiny stray hair without phrasing a text instruction, GPT Image 2.6's mask inpainting is purpose-built for brush selection. And if your final poster goes to large-format print beyond2K, compare your options in our Seedream 5.5 vs. Nano Banana Pro vs. GPT Image 2.6 breakdown.
Frequently Asked Questions
Why do my AI images get blurry after 4 or 5 edits in other models?
Most diffusion editors re-encode and denoise the entire canvas on every turn, accumulating tiny resampling errors in faces, fabric weave, and text. Seedream 5.5 isolates unmodified regions so unedited pixels are not repeatedly degraded across sequential turns.
Should I run multi-turn edits at 1K or 2K in Seedream 5.5?
Run your intermediate revision turns at 1K (3 credits) to iterate quickly and save 40% per turn, then export your approved final layout at 2K (5 credits). Avoid stopping at 1.5K for final delivery since 2K costs the same 5 credits on PixTV.
Can I take a 12th-turn Seedream 5.5 image straight into AI video?
Yes. Once your 2K master frame is approved, connect it directly to Seedance 2.5 or Kling 4.0 inside the PixTV video workspace to animate natural coat movement and camera push-ins without losing the bag's hardware details.